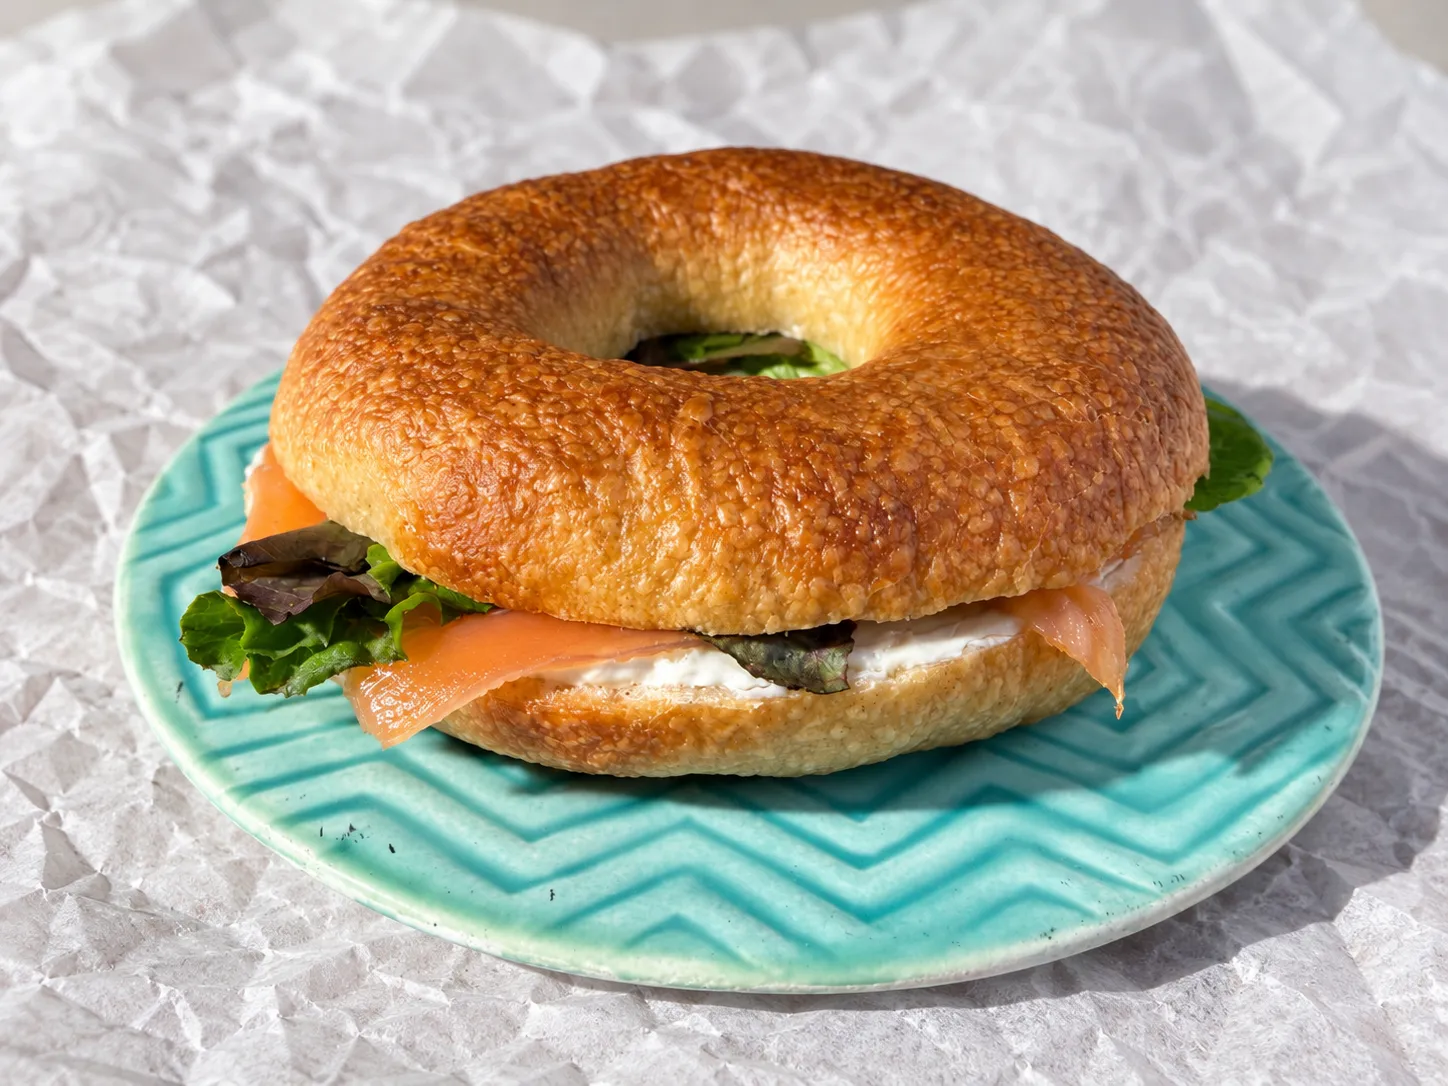
Homemade Bagels for a Weekend Brunch
A real bagel has three things: a glossy crust, a dense, tender crumb and that hole that makes it unmistakable. You can get all three at home, with no tricks: a firm dough with a little honey, a night in the fridge, a minute and a half in boiling water and a hot oven.
This is the recipe we use as the base for all our bagels. We give you every amount in grams (with cups and spoons in brackets) and explain why each step matters, and at the end we show you how we like to eat them: split in half, with cream cheese, smoked salmon and baby greens.
It isn’t a quick recipe, but almost all of the time is waiting. You shape them in the evening, leave them in the fridge and wake up to fresh bagels for breakfast.
How We Make Them at Home, Step by Step
Homemade Bagels
Equipment
- Stand mixer with dough hook Strongly recommended: this is a very firm dough
- Pot, about 3.3 L (3½ qt) The wider the pot, the more you can boil at once
- Spider strainer or a fine mesh strainer A slotted spoon works too
- Baking sheet Lined with parchment paper
- Kitchen scale
- Probe thermometer Optional, to check 95 °C (203 °F) in the center
Ingredients
Dough
- 500 g bread flour 13-14% protein (about 4 cups)
- 255 g water at 20-22 °C (68-72 °F) (1 cup + 1 tbsp)
- 6 g fresh yeast 0.2 oz; or 2 g (⅔ tsp) instant yeast
- 10 g fine salt 1¾ tsp
- 15 g honey 2 tsp
- 10 g sugar 2½ tsp
Boiling water
- 2000 g water 8½ cups
- 27 g honey 1¼ tbsp
- 5 g baking soda 1 tsp
For the baking sheet
- 5 g sunflower oil 1 tsp, to brush the parchment
Instructions
The dough
- Mix the dry ingredients. In the stand mixer bowl, with the dough hook, add the flour, salt and sugar. Mix for 20 seconds on speed 1.
- Dissolve the yeast in the water. The fresh yeast and the honey in the water at 20-22 °C (68-72 °F), then add it to the bowl all at once. If using instant yeast, add it with the dry ingredients instead.
- Knead on two speeds. 3 minutes on speed 1, until no loose flour remains, then 10 to 12 minutes on speed 2. Don't go above speed 2: with a dough this firm, the mixer walks and the motor strains. If that happens, stop for 5 minutes and continue. If you knead by hand, expect it to take considerably longer, with a rest or two along the way: this is a stiff dough.
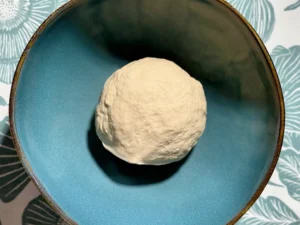
- Check the dough. It's ready when it pulls away from the bowl as a smooth, firm ball. It won't pass the windowpane test, and it doesn't need to. Final dough temperature: 24-25 °C (75-77 °F).

Rising and shaping
- Let it rise for 60 to 90 minutes, covered, at 22-24 °C (72-75 °F). It only grows by 30-40%.
- Divide into 8 pieces of 100 g (3½ oz) and shape each into a ball. Flatten each piece into a disc, fold the edges into the center several times, turning the dough as you go, until the surface feels tight, then turn it over with the folds underneath. Let them rest, covered, for 15 minutes.
- Seal the base. Fold again, pressing firmly, and close the underside with small pinches until there are no cracks or creases left. A well-sealed base keeps the bagel from splitting in the water.
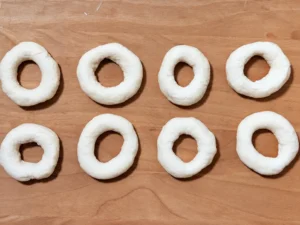
- Make the hole. Push your finger through the center of each ball and stretch by turning the dough around your finger, like a ring, until the hole is about 4 cm (1½ in). It looks big, but it closes up as the dough grows.
- Transfer them to the baking sheet. Onto parchment brushed with the 5 g (1 tsp) of oil, spaced apart.
Overnight in the fridge
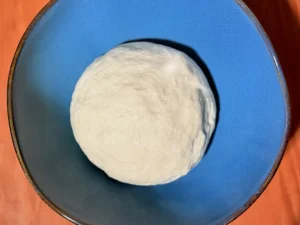
- Refrigerate for 12 to 18 hours at 4 °C (39 °F), covered. This is what gives the shine, the flavor and the chewy crust, so don't skip it.
Boiling
- Preheat the oven 30 minutes ahead. 230 °C (450 °F) with top and bottom heat, or 210 °C (410 °F) with a fan oven.
- Put the water on. 2000 g (8½ cups) of water in a pot of about 3.3 L (3½ qt).
- Add the honey when it boils. 27 g (1¼ tbsp), stirring until it dissolves.
- Add the baking soda little by little. 5 g (1 tsp), over medium heat: on a rolling boil it can foam up all at once. Wait for the foam to settle and skim off what's left.
- Take out only the batch you're boiling. Keep the rest in the fridge until their turn.
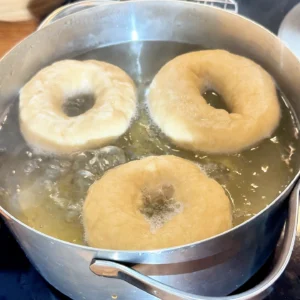
- Boil for 45 seconds. Lower them in with the strainer (or a slotted spoon). You can boil as many as fit in your pot without touching, leaving a little room around them.

- Flip them and boil for another 45 seconds.
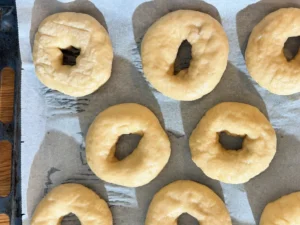
- Drain and return them to the baking sheet. Let them drip over the pot for 5 to 10 seconds, then back onto the sheet in 3 rows (3, 3 and 2), about 4 cm (1½ in) apart.
Baking
- Bake for 16 to 18 minutes at 230 °C (450 °F). All together, on the middle rack.
- Check they're done. Deep golden, hollow-sounding when tapped underneath, or 95 °C (203 °F) in the center.
- Lower to 210 °C (410 °F) if they darken too soon. If they're very dark at 12 minutes, continue at that temperature until they pass the previous step.
- Let them cool on a rack. At least 20 minutes before splitting them: while warm, the crumb is still setting.
Notes
- With a bigger pot you can use 3000 g (12¾ cups) of water, 40 g (2 tbsp) of honey and 8 g (1½ tsp) of baking soda.
- The hole closes up a lot as the dough grows: stretch it to about 4 cm (1½ in) when shaping.
- For seeds (sesame, poppy), add them right after the boil, while the bagels are still wet, and they’ll stick.
- For the lox bagel, the amounts and how to build it are in the post, below the recipe.
Any questions about the recipe? Ask us in the comments and we’ll get back to you. And if you make it, tell us how it turned out, we love hearing from you! 🤗
The Hole: How to Shape It So It Doesn’t Close Up
There are two ways to make the hole in a bagel: roll a rope and join the ends, or push your finger through a ball and stretch. We use the second one because it’s easier and the bagel comes out rounder, with no seam that can open up in the water.
Three things make the difference:
A tight ball. Before making the hole, the ball has to be smooth and well sealed underneath. If it’s loose, it distorts as you stretch and the bagel comes out lopsided.
To get there, fold the dough rather than rolling it on the counter: at 51% hydration it’s so dry that it slides instead of gripping. Flatten the piece into a disc, fold the edges into the center all the way around two or three times, and you’ll see the top go smooth and taut. All the folds end up together on the base: close it with small pinches until no creases show.
A bigger hole than you think. Stretch it to about 4 cm (1½ in). It looks like too much, but the dough grows in the fridge, in the pot and in the oven, and a small hole closes up completely. A bagel with no hole still tastes good, but it takes longer to bake through.
Stretch by turning, not pulling. Put your finger through the center and turn the dough around it, like a ring, until the hole is the size you want. If you pull from one side, that side ends up thinner.
Why Bagels Are Boiled Before Baking
An unboiled bagel is just a ring-shaped roll. What turns it into a bagel is that short bath in hot water: in 45 seconds per side, the surface of the dough sets into a thin skin. In the oven, that skin becomes the smooth, glossy, slightly elastic crust bagels are known for, and it also holds back the rise, which is why the crumb stays dense instead of fluffy like regular bread.
We put two things in the water:
Honey, for shine and a warmer golden color.
Baking soda, which makes the water slightly alkaline. The crust browns more and better in the oven, and gains flavor.
Keep the water at a gentle simmer, with small bubbles. At a rolling boil the dough gets knocked around and the bagels lose their shape.
The Night in the Fridge, the Step You Don’t See
Once shaped, the bagels spend 12 to 18 hours in the fridge, covered. It looks like a waiting step and nothing more, but it’s where a lot of the work happens: the slow rise develops flavor that two hours at room temperature never will, and cold dough holds its shape far better in the boiling water. It’s also what gives the final shine.
And it sorts out your timing: shape them in the evening, bake them in the morning. It’s the same logic as in our sourdough sandwich bread: the cold does the work while you sleep.
To check they’re ready, do the float test: take one out of the fridge and drop it into a glass of cold water. If it floats within 10 seconds, they’re ready. If it sinks, leave them at room temperature for 30 to 60 minutes and test again.
How We Like to Eat Them: Lox and Cream Cheese
It’s the New York classic and our favorite for brunch. Per bagel:
- 30 g (2 tbsp) cream cheese
- 40 g (1½ oz) smoked salmon
- A handful of baby greens
Split it once it’s completely cool. While warm, the crumb is still damp inside and squashes as you cut. If it’s a day old, toast it for a couple of minutes: it goes right back to fresh-baked.
Spread cream cheese on both halves. It works as glue: the greens and the salmon won’t slide out when you bite.
Build it in this order: bottom half with cream cheese, baby greens, salmon, top half. Greens under the salmon keep the bottom from going soggy.
If you fancy something different, bagels take almost any filling: scrambled eggs and avocado, ham and melted cheese, or simply butter and jam.
If Something Didn’t Turn Out Right
The hole closed up. It was too small when you shaped it. Next time, stretch it to about 4 cm (1½ in).
They lost their shape in the pot. The water was at a rolling boil, or you took them out of the fridge too early and they were soft. Turn the heat down until you only see small bubbles, and take out only the batch you’re boiling.
They came out pale. The oven wasn’t hot enough, or the water was short on baking soda. Preheat for at least 30 minutes.
Very dark at 12 minutes. Lower the oven to 210 °C (410 °F) and keep baking until they sound hollow when tapped underneath.
Wrinkled after baking. Usually over-proofing: next time do the float test first and don’t leave them out of the fridge for so long.
The stand mixer walks across the counter. Normal with a dough this firm. Stop for 5 minutes and continue, or knead in two rounds of 6 minutes with a 5-minute rest in between.
Other Versions: Pumpkin and Blueberry Bagels
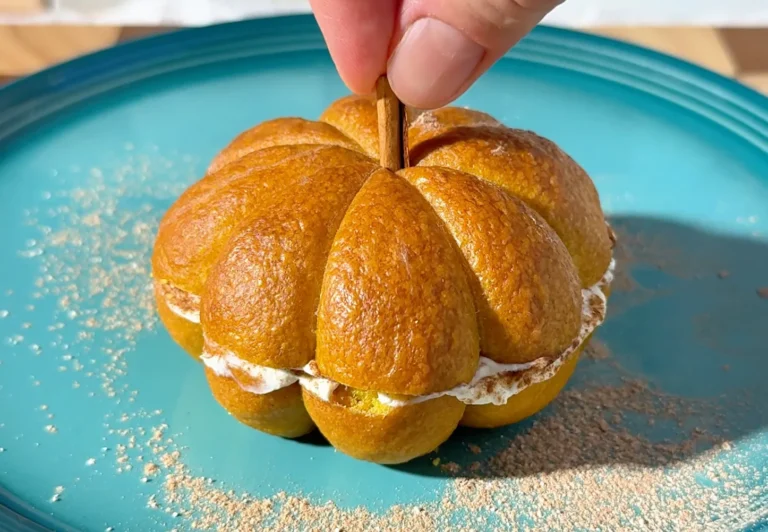
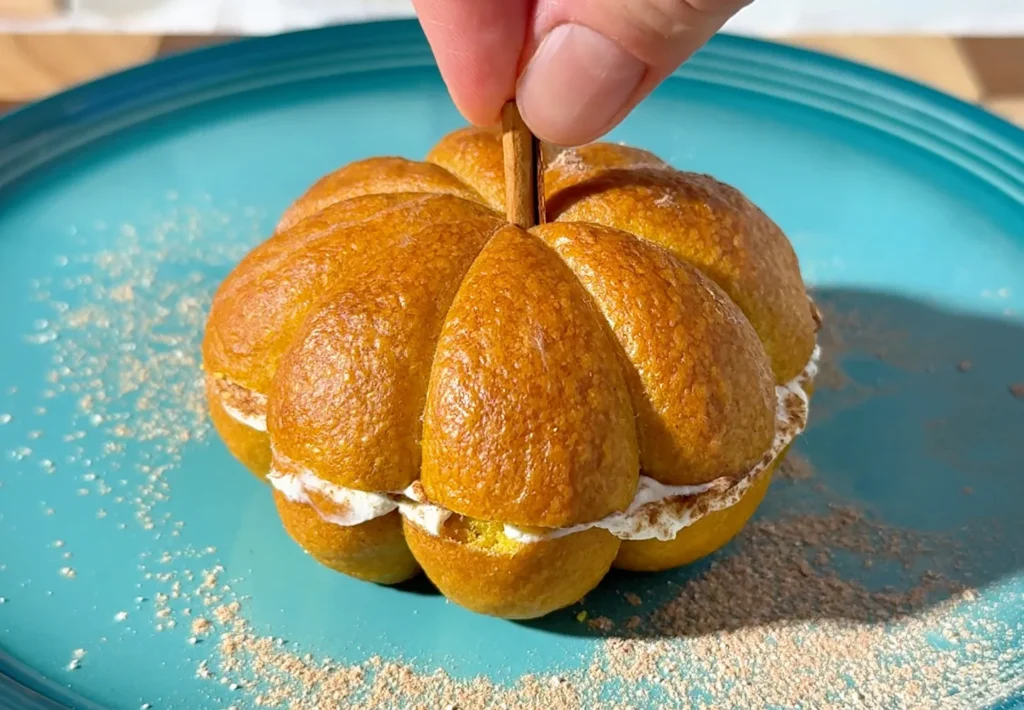
We use this same dough for our pumpkin bagels: roasted pumpkin purée, a touch of cinnamon and, instead of the hole, kitchen twine tied around each ball so they bake into little pumpkins. Perfect for a Halloween breakfast.
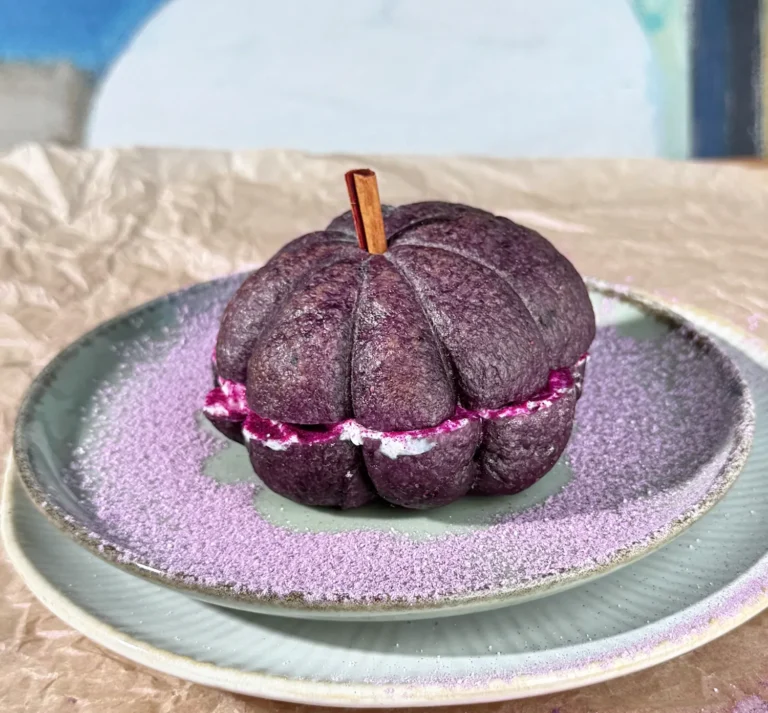
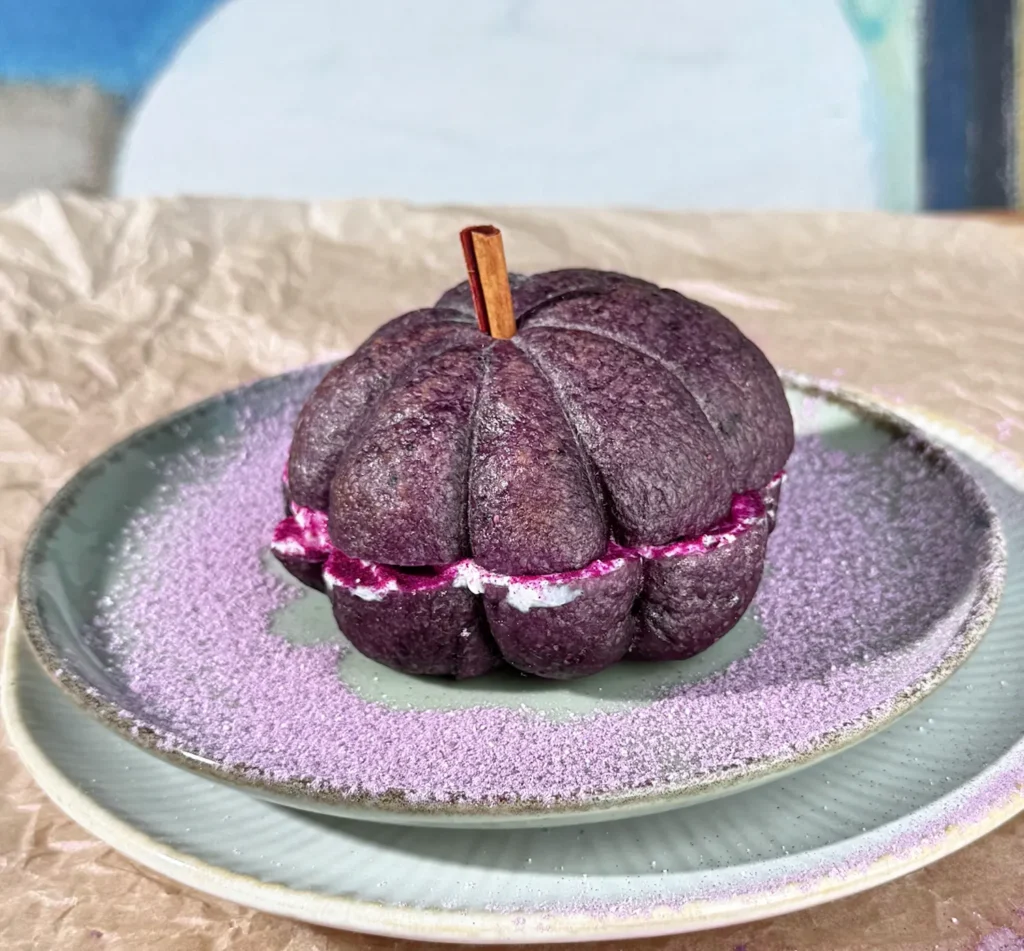
And for something that really surprises, try our blueberry bagels: purple all the way through, colored only by the fruit 💜
Frequently Asked Questions About Homemade Bagels
What’s the best flour for bagels?
Bread flour, 13-14% protein. It’s what gives the dense crumb and that chewy bite bagels are known for. With all-purpose flour they come out softer, closer to a bread roll.
Why is the dough so stiff?
Because there’s very little water in it: 255 g for every 500 g of flour. That’s on purpose: a firm dough gives the dense crumb and holds its shape in the boiling water. It’s also why you don’t need the windowpane test or a higher mixer speed.
Can I knead it by hand?
You can, but with a dough this firm it takes real effort and patience. We always use a stand mixer.
Can I use instant or active dry yeast instead of fresh?
Yes. Use 2 g (⅔ tsp) of instant yeast mixed straight into the flour, or about 2.5 g (¾ tsp) of active dry yeast dissolved in the water.
Why add baking soda to the boiling water?
Baking soda makes the water slightly alkaline, which makes the crust brown more and better in the oven. That’s what gives bagels their deep golden color. The honey in the water adds the shine.
Can I skip the night in the fridge?
We don’t recommend it. The cold rise is what gives the shine, the chewy crust and the flavor of a good bagel. It also makes the timing easy: shape them one day, bake them the next.
How do I store homemade bagels?
They’re at their best the day they’re made. Keep them in a closed bag at room temperature for up to 2 days, or slice and freeze them and toast them straight from the freezer.
Can I add seeds?
Yes. Right after the boil, while they’re still wet, press them into a plate of sesame, poppy seeds or whatever mix you like. The seeds stick with no egg wash needed.
What do you put in a bagel?
The classic is cream cheese with smoked salmon, which is how we like them best (we show you how to build it in the post). They’re also great with eggs and avocado, ham and cheese, or simply butter and jam.
Can I make these in an air fryer?
Yes, with a couple of caveats. The boiling doesn’t change, it still happens on the stove; what changes is the baking. An air fryer is a small convection oven: it bakes faster and the element sits much closer, so you’ll need to drop the temperature compared to a regular oven and start checking well before the times in the recipe. Only a few fit at once, so you’ll work in batches. We haven’t baked them this way ourselves yet, so we won’t give you exact numbers: go by the usual test, hollow when tapped underneath or 95 °C (203 °F) in the center. If you try it, tell us in the comments what temperature and time worked for you.
Made This Recipe or Have a Question?
Any questions before you start? Ask us down below and we’ll get back to you. And if you’ve already made it, tell us how it turned out or leave us a rating: it really helps more people find the recipe 😊
Rate this recipe ⭐️